
Greetings! And Happy national Naked Gardening Day to you! No Seriously. It's a thing. I would do it, but I had a weird audience today.

When they stare it makes me feel self conscious about my body and then I second guess everything. White is black, potatoes are beets. It's just not pretty. So, I skipped the nudity and went for a more practical approach today. A tutorial. One on doing a potato tower! Also, there's an update on the container garden below if you're interested in that.
My beets started shooting up tremendously this week! :) just growing all over the place!

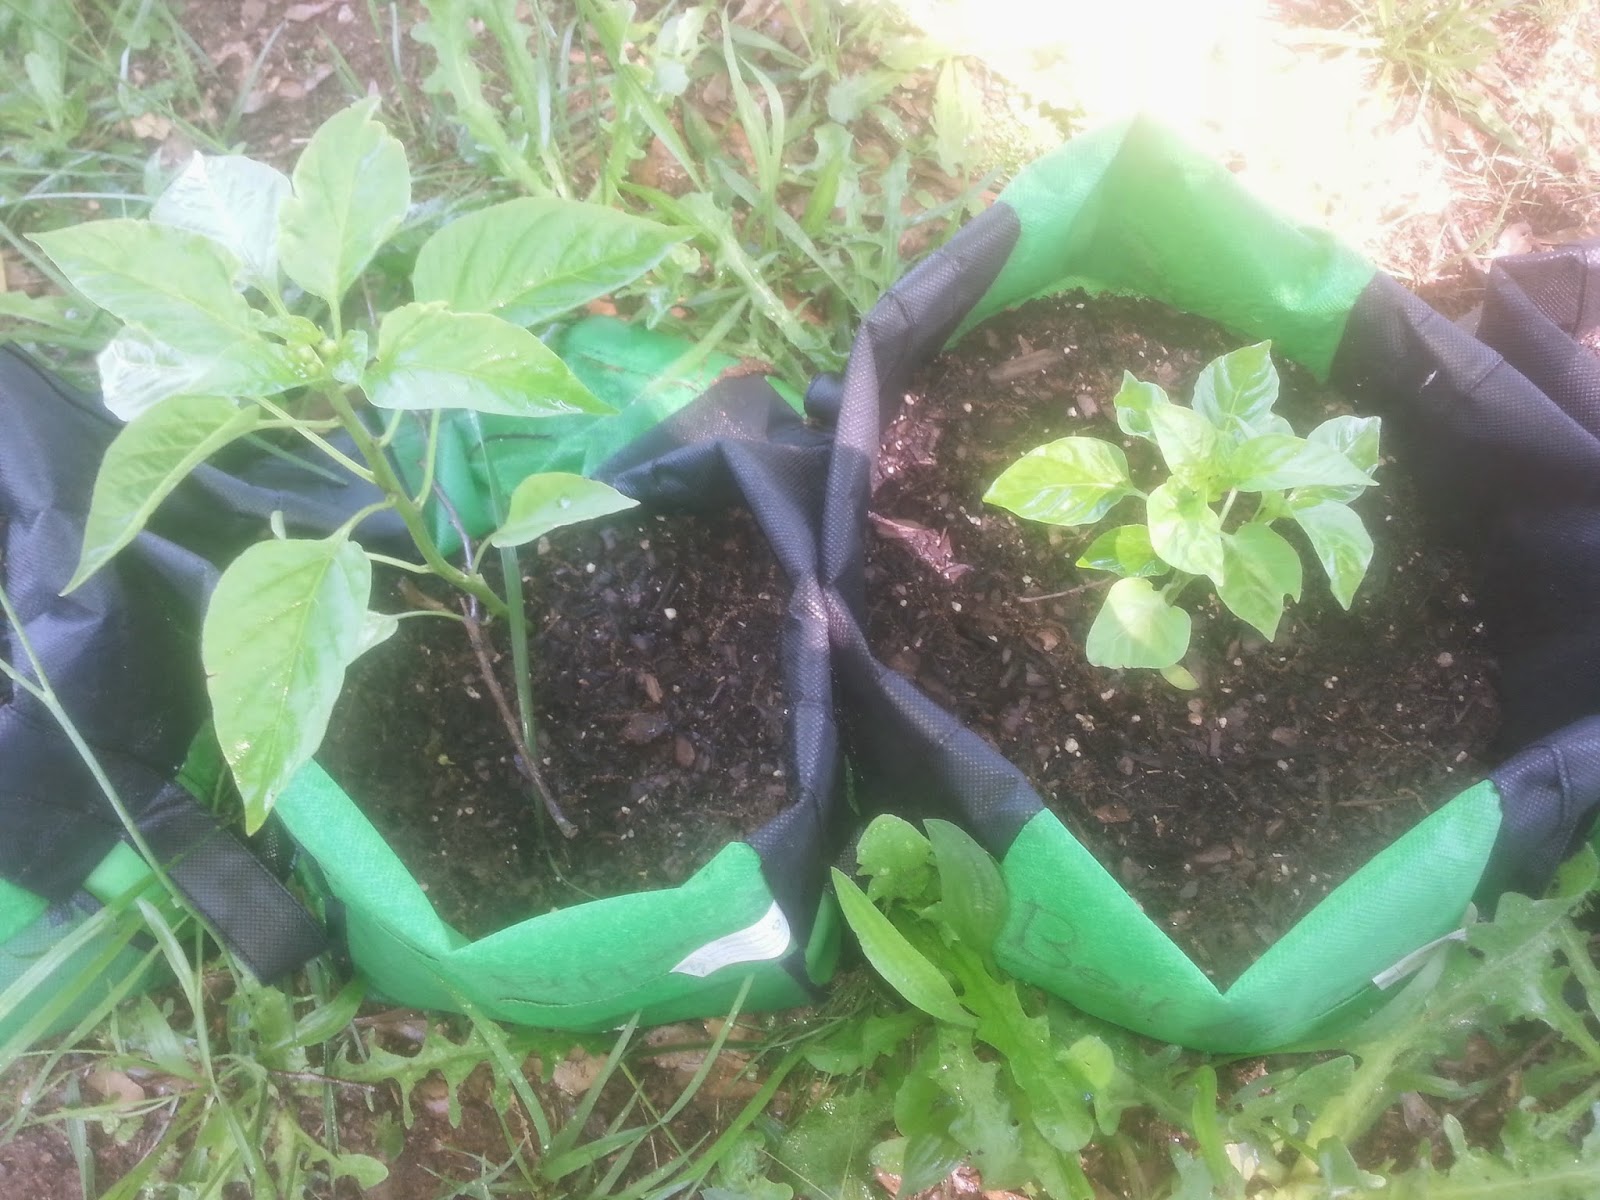
Bell pepper
My Black Eyed Peas. Yes, There is still one creepy large one.

My blue lake beans are getting little bud like things on them. :D

My cabbages are starting to explode with growth as well.

Cayenne Red Pepper

My wee little celery buds. are growing.

My many cucumber plants

Both of my eggplant plants.

The fennel is trucking along just fine.

My goji

So, I'm pretty certain I have picked out a pretty good place to start the grapevine. When I put the grapevine in the ground it's pretty much going to be a long term commitment so I want to be sure. And I'm not one for commitment - just ask my hubby. HA!

But it needs to be soon That grapevine is really starting to burst up there.

Here you can see all of the greens. The buttercrunch lettuce is on the far left the georgia collards in the middle and the spinach on the right.
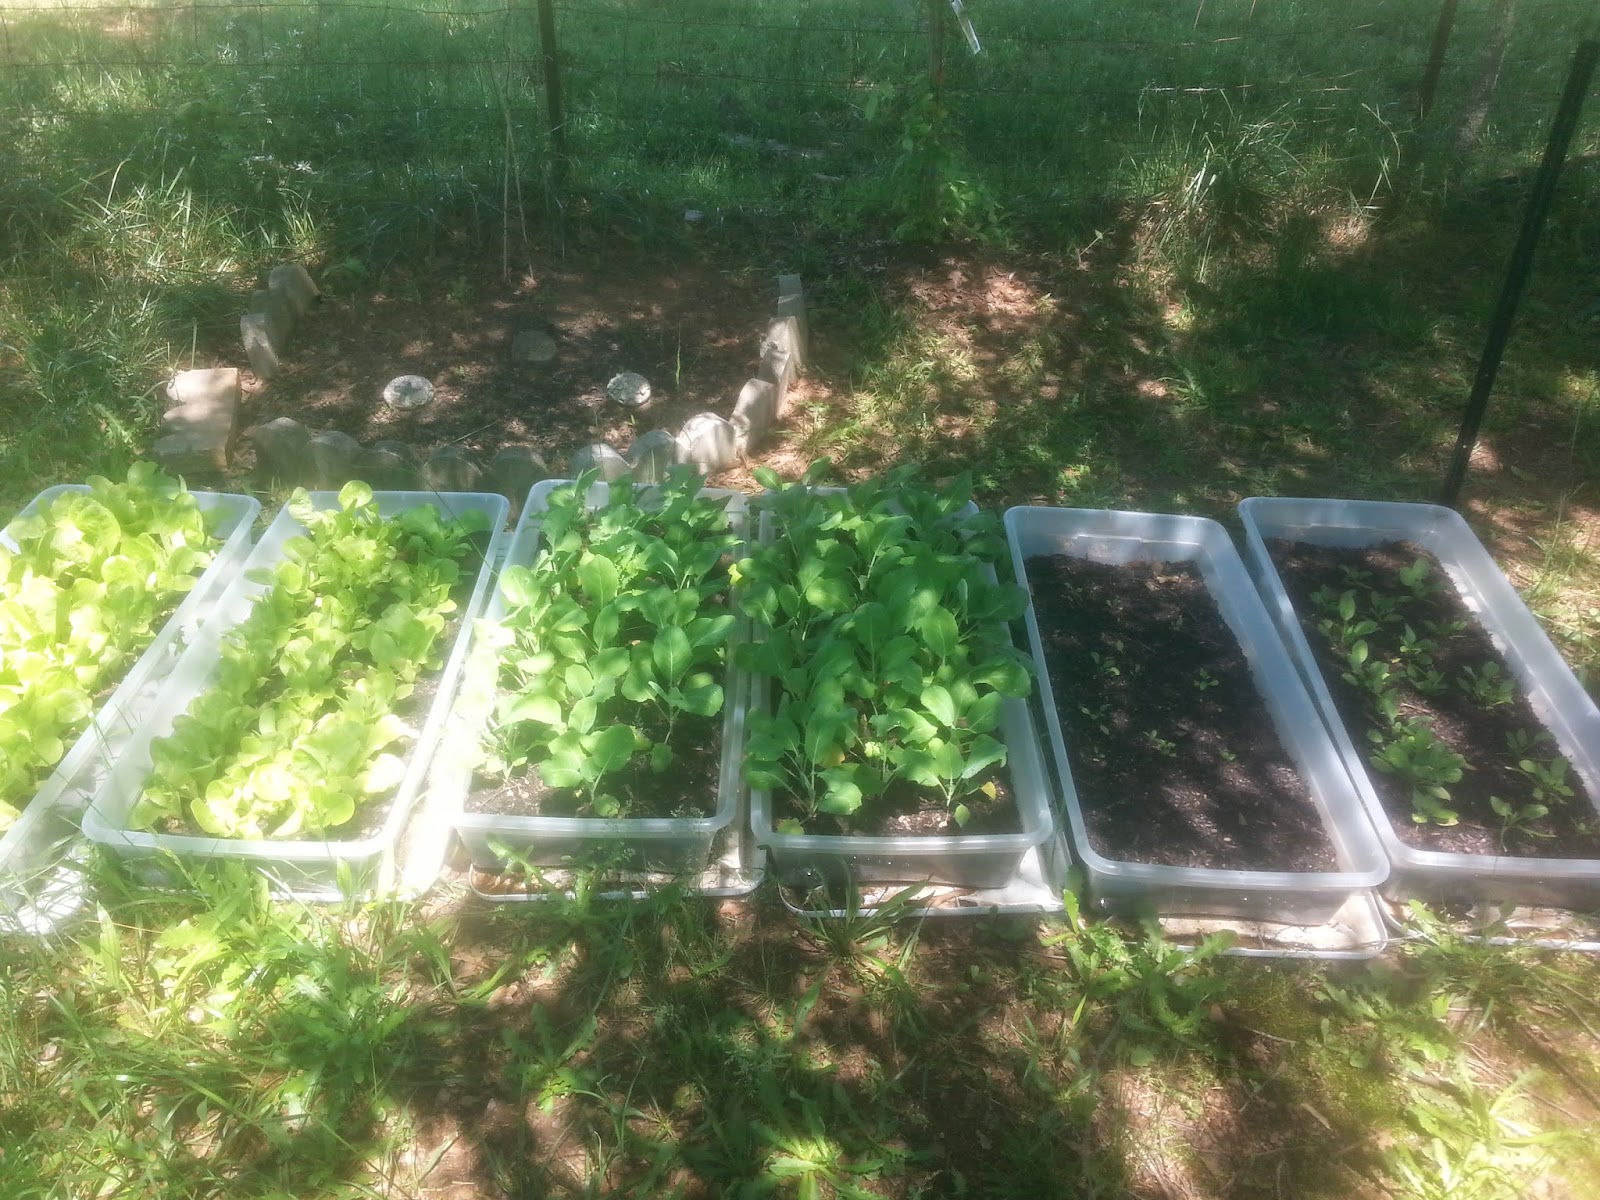
Isn't the lettuce just gorgeous.

On the top tier you can see my rosemary (furthest away) The corsican mint (left) and the oregano (right) you can see my cilantro on the middle tier and you can see my basil on the bottom left and my sage on the bottom right.

On the top tier you can see nearest the front my oregano on the back left you can see my corsican mint and the back right you can see my rosemary. on the middle tier to the left you can see the cilantro and on the right you can see creeping thyme on the bottom tier you can see sage.

On the top tier nearest the front right you can see rosemary, front left you can see corsican mint. middle rear is oregano. On the middle tier you can see my garlic chives, on the bottom tier on the left side you can see parsley, and on the right side you can see basil.

This isn't edibles, but it's yellow and purple Iris.

Jalapeno

My Kidney Beans Have some little buds of some kind growing on them, too!

Lavender is my absolute favorite herb! :D So Excited it's finally coming in! Lavender, Mint, Lemon Balm, Rose! Now I need to Grow some Loofahs!

The Lemon Balm is coming along well, also.

Lima Beans

Lincoln Green Peas

Marion Tomato
.jpg)
More Marion Tomato

Muskmelon/Cantaloupe

Parsley

My pinto beans also have those Bud things. :)

My Radishes Are not ready to be harvested yet. But this one is...thanks to the neighborhood dog-the-size-of-a-horse

Roma Tomatoes. Wow. What a difference From The droopy seedling that I brought home that first Day.

This is a Rose Bush. And I probably should have gotten a bit closer, but if you look close you can see my mint growing in the back there.

Rutgers Tomato

More Rutgers Tomato

Sage. I find it does So well when it's in partial shade.

Snow Peas.

The Strawberry patch is actually looking perked up a bit. It's been a bit droopy.

This is Sugar Baby Watermelon. I had three of them. One already Died. It just withered away like I never watered it, even though I did everything I could to keep the damned thing wet. Those blasted things. I probably won't grow them again. There a pain in my ass is what they are. but anyway, I'll keep you posted.

This is the first tote of yellow squash.

This is my second tote of yellow squash.


